Maintenance for your entire Yamaha outboard is critical, and servicing the lower unit is no exception. The lower unit of your Yamaha outboard motor converts the power of your outboard’s engine to the rotation of the prop shaft, which moves the propeller and propels your boat across the
water.
Due to the higher RPM demands, operating temperatures, and immersion in water, the lower unit’s internal mechanical workings are under tremendous stress. Without a properly-functioning lower unit, you will experience many common issues, such as engine bogs, lower overall RPMs, or even a failing outboard – all of which are catastrophic out on the water.
Luckily, your lower unit only needs simple, regular maintenance to keep it in top condition.
In this article, we will take a look at everything you need to know about maintaining the lower unit of your Yamaha outboard, including:
- The Importance of Lower Unit Maintenance
- How Often Should I Perform Maintenance on the Lower Unit of My Yamaha Outboard?
- Overview of Necessary Lower Unit Maintenance for Your Yamaha Outboard
The Importance of Lower Unit Maintenance
Before getting down to work on your Yamaha outboard’s lower unit, you should know that regular maintenance for your entire outboard is a must. However, the lower unit serves a critical role, directly impacting the lifespan and performance of your boat. It must be serviced to maintain optimal performance and extend the lifespan of your Yamaha outboard.
There are numerous implications if the lower unit of your Yamaha outboard motor is not properly maintained, including:
- Maladjusted propellers can damage the structural components of the boat
- Material wrapped around the propeller shaft will lead to the propeller spinning slower
- There will be a noticeable reduction of engine RPMs during idling or higher RPMs caused by a lack of lower unit oil, a malfunctioning impeller, or obstructed cooling passages
- With an underperforming lower unit, it can be more challenging to get on plane, resulting in lower MPG (miles per gallon)
- Obstructed coolant passages are not able to funnel water to cool the engine during operation, leading to bogs and dangerous operating temperatures
- Grease points may get stuck or frozen, not allowing for free movement of the lower unit
- The impeller will deteriorate without sufficient water lubrication
- Corrosion can begin to appear due to failing external anodes bolted to the lower unit
- Unaddressed cracks in the housing of the water pump housing can let water infiltrate the lower unit gear case, causing corrosion and poor lubrication for the lower unit’s components
As you can see, there are plenty of reasons to service your Yamaha outboard’s lower unit. Perhaps the most important reason is that failure to adequately service your Yamaha outboard motor may invalidate your warranty – leaving you with entirely preventable and very costly repairs.
How Often Should I Perform Maintenance on the Lower Unit of My Yamaha Outboard?
For preserving lifespan and optimal performance, Yamaha recommends regular service intervals to avoid damage to your Yamaha outboard’s lower unit. The more often you perform maintenance on the lower unit of your Yamaha outboard motor, the better it will run with fewer breakdowns.
As a rule of thumb for new outboards, boaters should service their outboard every 20 hours after breaking in the engine (which occurs in the first 10 hours of operation). This servicing may only require a visual inspection but should include checking if any problems are developing.
As your engine ages, you need to service your Yamaha outboard minimally every 100 hours (or annually), before storage, or if you detect any developing issues.
If you use your Yamaha outboard year-round, especially for those that live in warmer climates, you may need to service your lower unit twice a year, depending on the frequency of usage.

Winterizing and Storage
Before winterizing and long-term storage, it’s important to perform maintenance on your lower unit. Oil in the lower unit can turn acidic and attract moisture – both corrosive to the lower unit’s internal components. This is why it’s essential to service your lower unit before periods of inactivity.
Overview of Necessary Lower Unit Maintenance for Your Yamaha Outboard
Most lower unit maintenance is within the capabilities of DIY boaters. However, an authorized Yamaha Marine dealer can perform this service for you as needed. Either way, performing lower unit maintenance is important for proper continued operation and fewer headaches when you’re out on the water.
Recommended Tools & Products
The following are some of the mandatory parts, tools, and supplies you’ll need to service your Yamaha outboard:
- Water Pump Impeller
- Yamaha Gear Lube Kits & Pumps
- Yamalube Greases
- Grease Gun
- External Zinc Anodes
- Petroleum Sorbent Pads & Rags
- Propeller
- Propeller Wrench
- Cotter Pins
- Socket Wrenches
- Ratchet Set
- Torque Wrench
- Bearing and Shaft Puller
Perform a Thorough Visual Inspection
Before beginning any manual work, perform a visual inspection. This is the first step of maintaining the lower unit of your Yamaha outboard. You’ll want to visually inspect the exterior of your lower unit for any signs of damage each time you go out. Pay attention to any leaks, gouges, and other signs that indicate wear on the outside of the lower unit.
Inspect/Grease Propeller
It’s common for the propeller to become damaged from usage in shallow waters or in waterways that anglers regularly use.
If you fish or boat in waters where fishing is common, it’s a good idea to regularly remove the propeller and check for any fishing line or other debris that may be wrapped around the propeller shaft. If this repair isn’t addressed, debris can cut into prop shaft seals and allow water to enter the gearcase.
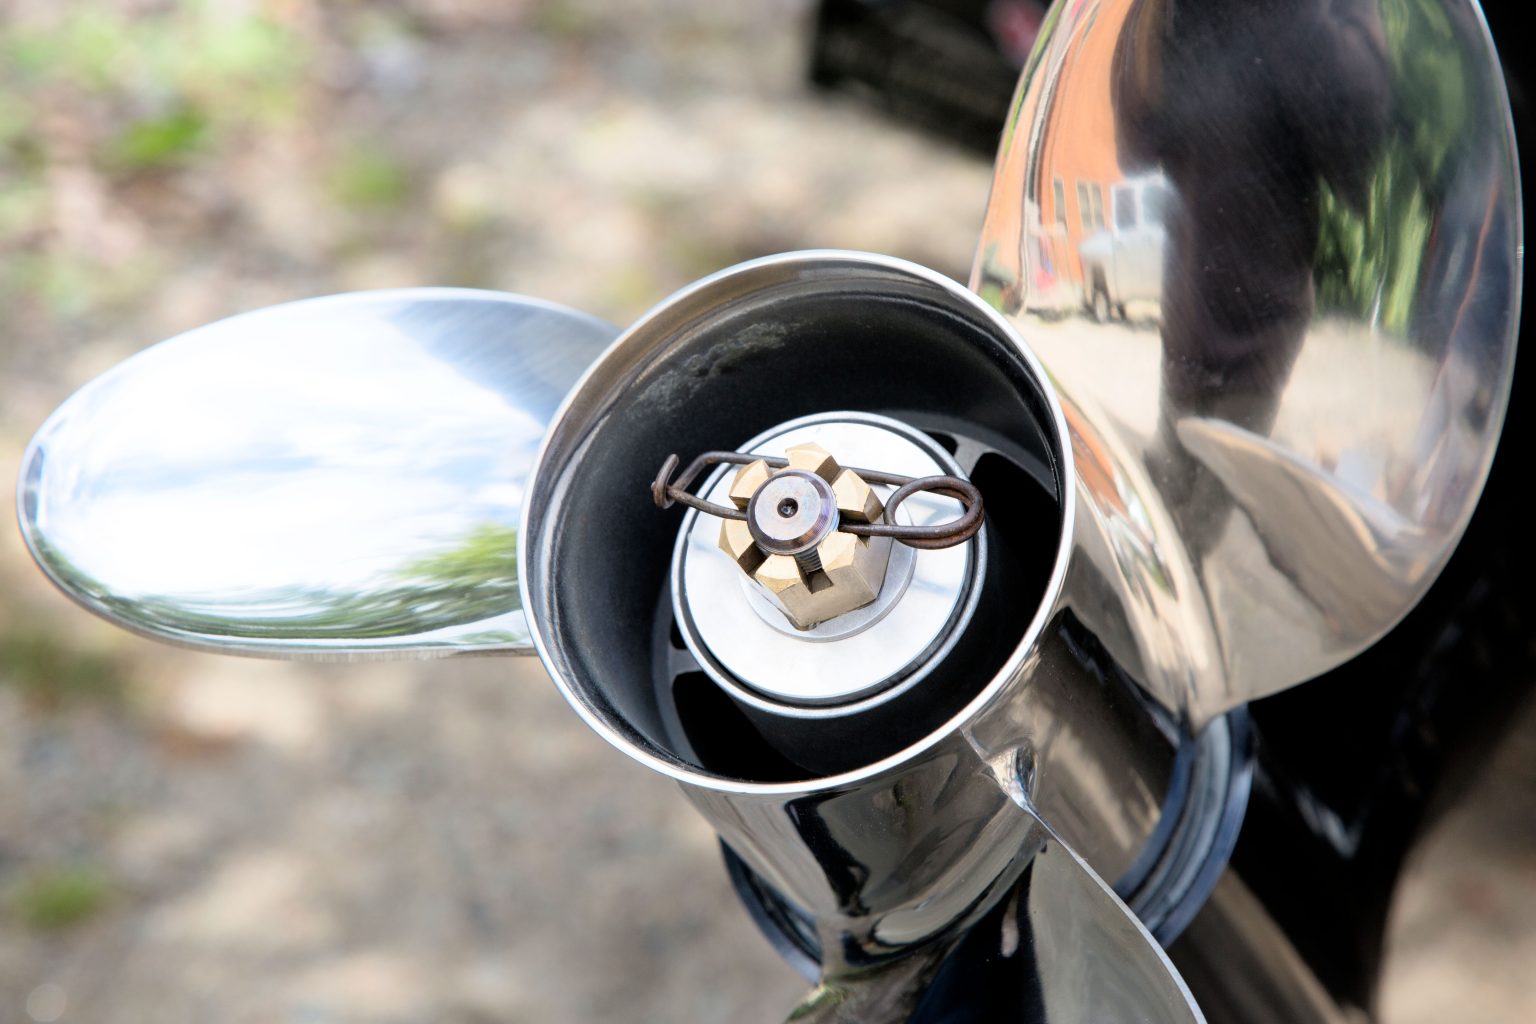
Also, check props for signs of damage to the propeller – even slight bends and subtle misalignments can drastically change the performance of your boat. Don’t attempt to unbend the propeller back into its original position if you notice any damage. This weakens the metal of props and makes them more likely to bend in the future. Instead, completely replace the propeller.
While you’re looking at your propeller, be sure to look at the propeller shaft for damage. Use a wrench to tighten the steering pivot and mounting bolt if either is loose, which can cause excessive outboard vibrations. Also, look at the condition of the cotter pin – if it’s damaged, replace it.
Last, if you find damage or you believe that the propeller shaft is misaligned, you may need to take it to a certified Yamaha mechanic for repair.
Change Lower Unit Gear Oil & Replace Lower Unit Seal
The lower unit gear oil is important to allow the gears inside your lower unit to turn freely. The lower unit gear oil forms a thin film between the metal components to keep them from touching and minimize friction that would otherwise lead to wear.
To perform this oil change, the process is simple:
- Place a pan under the bottom drain screw, using a tarp or absorbent pad to avoid spillage.
- Remove the bottom drain screw.
- Next, slowly remove the upper vent screw on the side of the lower unit to allow the oil to flow.
- Allow all of the lubricant to drain into the pan.
Take notice of the drained oil. If the lubricant is milky in color, there’s water in the lubricant.
While you’re waiting for the oil to drain, check the magnetic drain screw. Any metal particles or shavings present in the lubricant will be attracted to it, indicating internal wear. Small metallic dust is normal, but larger chips of metal on the screw may indicate internal damage.
- Next, replace the small crush washer present on each screw (commonly known as “drain plug gaskets”). If you don’t see one, it may still be stuck to the outboard.
- Use a pick to pull it free.
- Replace with fresh crush washers each time these screws are removed.
After replacing the washers, it’s time to refill the gear case with fresh oil:
- Thread the appropriate fitting into the lower unit drain screw opening and slowly pump in fresh Yamalube Marine Gearcase Lube.
- Once you see this new fluid seeping out of the upper vent screw hole, stop and wait 5 minutes.
- Continue pumping until the oil seeps from the vent screw again.
- At this point, replace the vent screw and tighten it according to Yamaha’s specifications.
- Remove the fitting attached to the drain screw opening and quickly tighten the drain screw to factory specifications.

Can I use Automobile Lubricants for the Lower Unit?
No, it is never a good idea to use automobile lubricants for the lower unit of your Yamaha outboard. Different viscosities, operating temperatures, and constant exposure to water make automobile lubricants unsuitable for marine use.
Instead, use Yamalube® Marine Gearcase Lube. It can perform all of these required protection and lubrication duties and is designed for the marine environment.
Inspect/Replace External Anodes
Yamaha outboard motors are equipped with external anodes to prevent corrosion to your engine. The lower unit contains two sacrificial anodes: a bracket anode and a trim tab anode.
There are three types of marine corrosion that affect your lower unit:
- Simple electrochemical corrosion
- Galvanic corrosion
- Electrolytic/stray current corrosion
Inspect/Replace External Anodes
Yamaha outboard motors are equipped with external anodes to prevent corrosion to your engine. The lower unit contains two sacrificial anodes: a bracket anode and a trim tab anode.
There are three types of marine corrosion that affect your lower unit:>
- Simple electrochemical corrosion
- Galvanic corrosion
- Electrolytic/stray current corrosion
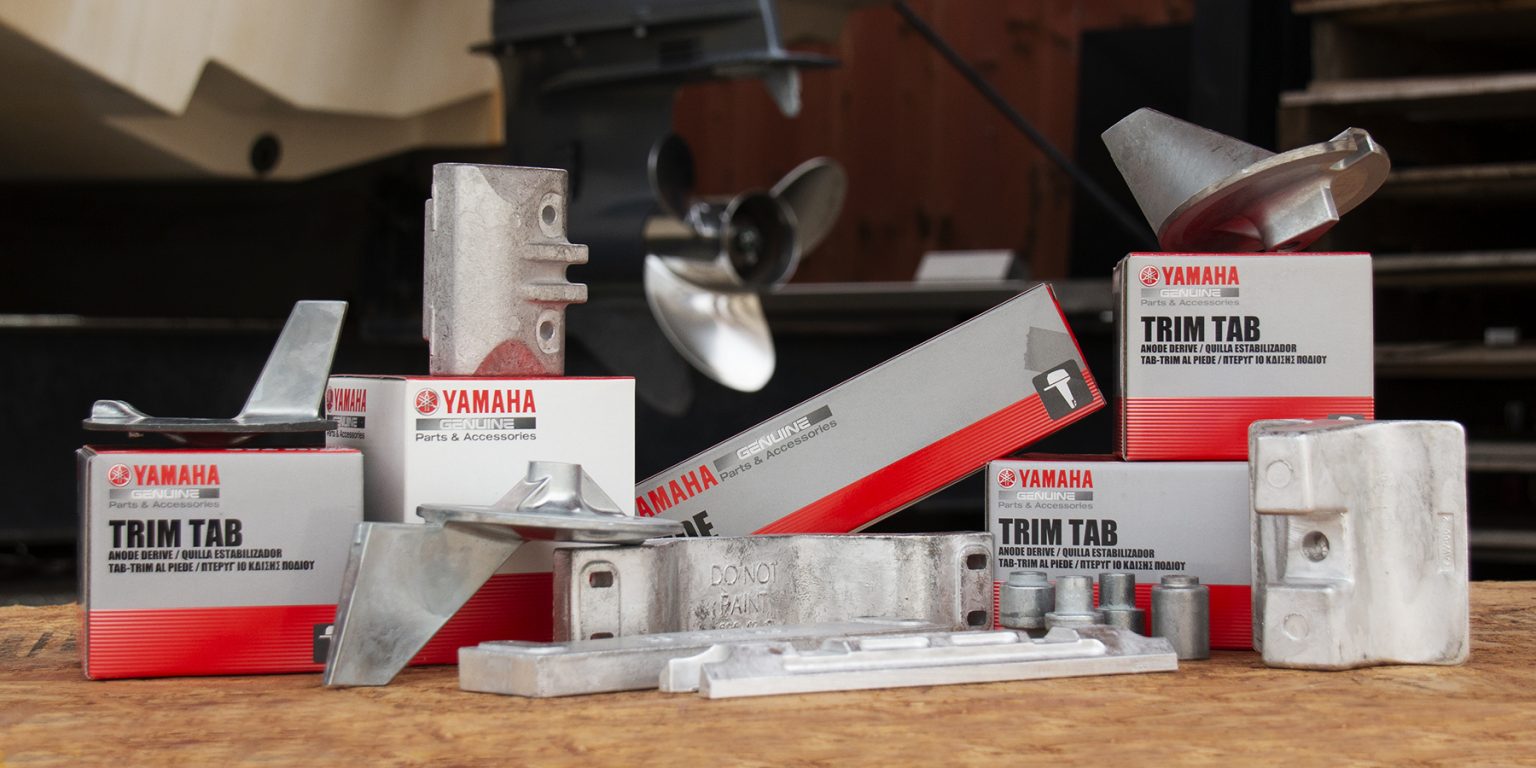
Over time, these sacrificial anodes become pitted and worn down. Depending on the severity of corrosion, these anodes can either be brushed off to expose new material or replaced entirely.
Maintenance of these relatively inexpensive components will extend the lifespan of your Yamaha outboard. Best of all, replacing the external anodes on your lower unit is relatively simple.
For the trim tab anode:
- Start by marking the angle of the hash mark to retain the offset.
- Remove the rubber plug.
- Remove the retaining bolt by inserting a socket wrench with an extension to access the bolt that secures the trim tab.
- Insert the new trim tab anode.
- Replacement is the opposite of installation.
For the bracket anode:
- Loosen the retaining bolts and remove the anode.
- Replace it with the new bracket anode.
Replenish Grease Points
Depending on your Yamaha outboard model, your lower unit will have several grease points that must be pumped with fresh grease to offset any friction between moving parts.
Grease replenishment is easy:
- Locate the grease fittings in the lower unit.
- Connect your grease gun to the fittings to ensure a tight seal.
- Begin pumping grease until fresh grease begins to ooze out from exit points.
- Wipe excess with a rag, being sure to leave a bit of excess grease to create a protective layer against corrosion.
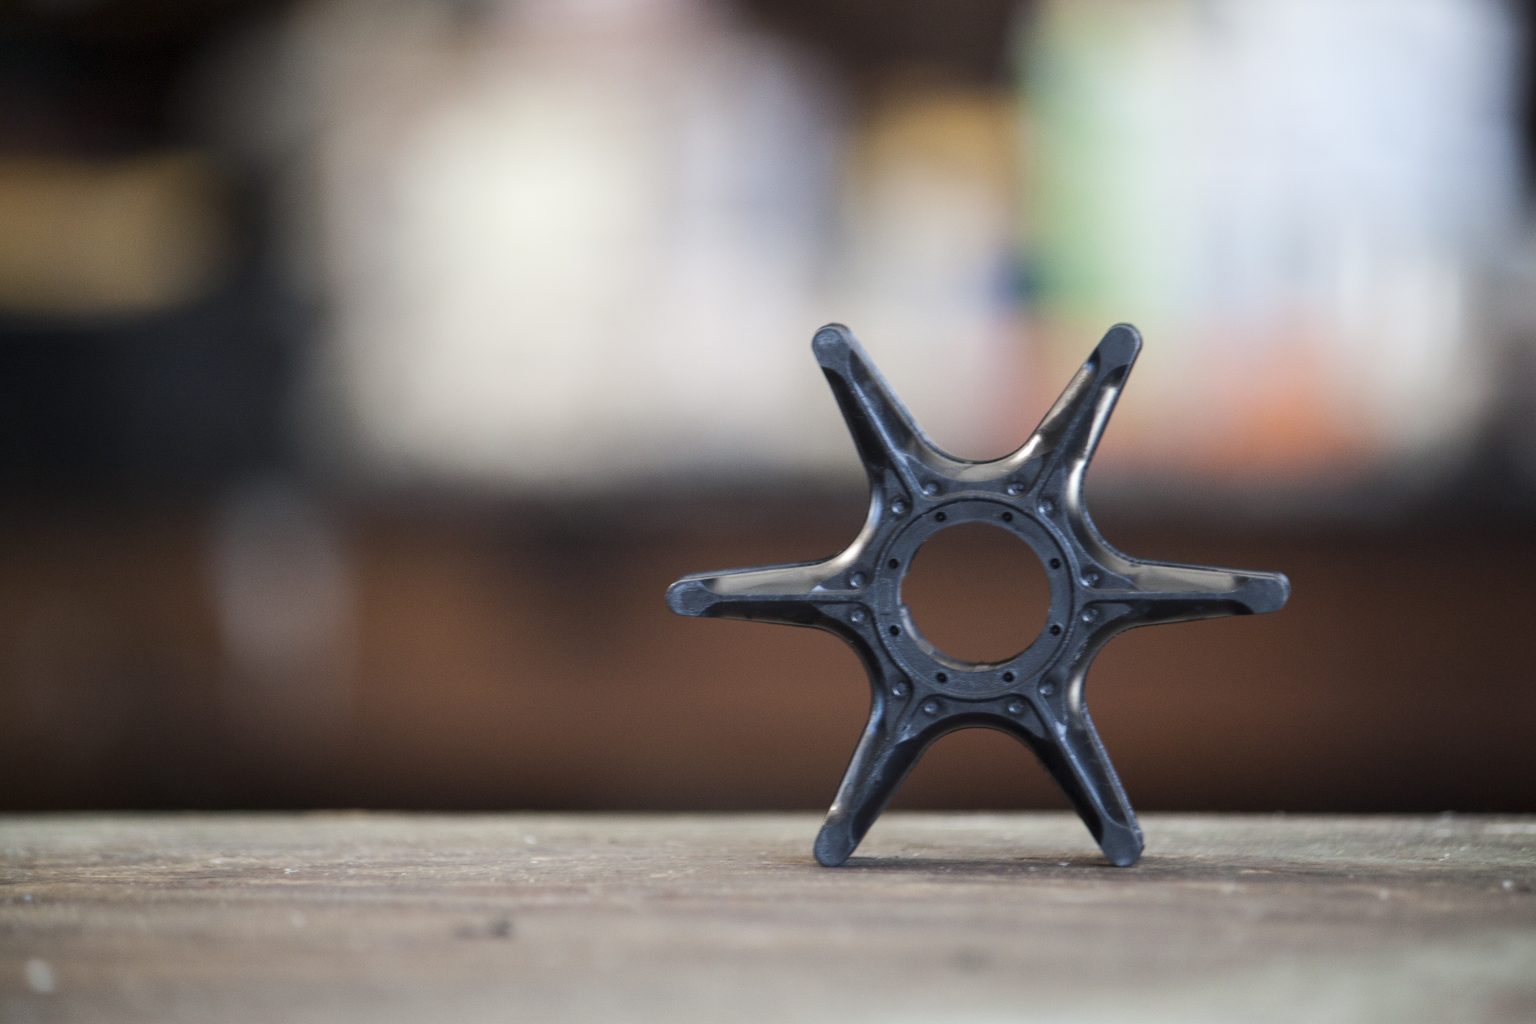
Replace Impeller/Water Pump Housing
Your impeller is located in the water pump housing of your lower unit. Its job is to pump water into the cooling passages of your engine to avoid overheating.
Replacement of the impeller is a simple repair that can be performed in 15 minutes:
- Remove the gearcase/lower unit from the outboard.
- Remove the rubber water tube seal from the top of the water pump assembly.
- Remove the bolts that hold the water pump assembly in place.
- Remove the water pump housing to reveal the impeller.
- Remove the impeller, including the two nylon washers.
- Remove the woodruff key from the base of the driveshaft.
- Remove the upper gasket, the wear plate, and the lower gasket from the gearcase.
- Inspect the shift shaft boot for cracks or splits. If it‘s damaged or worn, replace it with a new one.
- Install the new lower gasket, wear plate, and upper gasket with the neoprene side of the upper gasket facing upward.
- Install the new impeller with the nylon washers above and below it. Make sure the impeller sits over the woodruff key for a proper installation.
- Grease the inside of the water pump housing and the top of the wear plate with marine grease.
- Reinstall the water pump housing while rotating the driveshaft clockwise to ensure that the impeller’s blades are turned in the correct direction within the water pump housing.
- Reinstall each of the water pump assembly bolts.
- Install the new rubber water tube seal onto the top of the water pump assembly

This content was designed to serve as a general guide. Persons who are not familiar with marine engine repair and have not been trained in the recommended servicing or installation procedures should have the work performed by an authorized marine mechanic. Improper installation or servicing of parts can result in engine or boat damage, personal injury to the installer, or harm to persons operating the product.