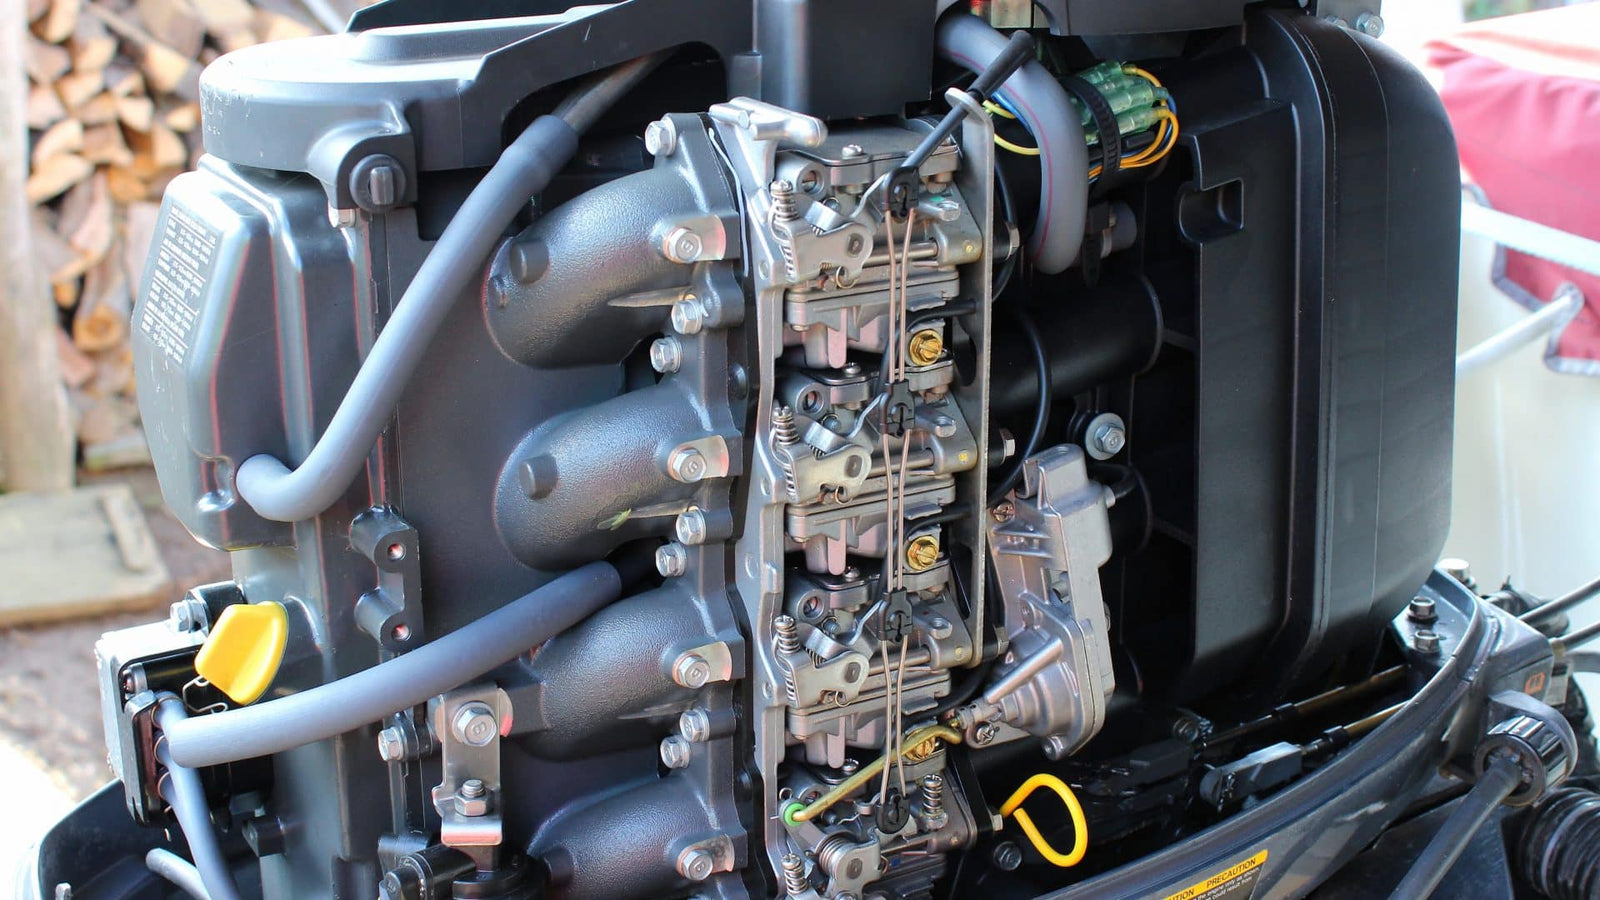
Is your Yamaha outboard performing poorly? If you’re experiencing reduced performance, excessive fuel consumption, or other developing problems, the best way to find out what’s going on is to perform a “leak down test.”
What is a Leak Down Test Used For?
An outboard leakdown test is a simple diagnostic checkup for your Yamaha outboard – and it can even be incorporated into your regular maintenance intervals for peace of mind.
During the test, you’ll be able to determine if there’s any loss in air pressure around your engine’s internal seals and passages. Even a pinhole leak can drastically alter your Yamaha outboard’s performance, so performing a leak down test is important to determine whether the piston seals and other components are in good shape.
Fortunately, a leak down test only requires a few common tools and some basic knowledge about your Yamaha outboard. Even boaters with minimal experience can diagnose developing issues that affect the overall performance and lifespan of your boat’s engine(s). Best of all, performing this test will save you money and headaches down the road.
In this article, we’ll take a look at how to do a leak down test, including a step-by-step guide, tools and supplies you’ll need, and some of the most frequently-asked-questions when it comes to servicing your Yamaha outboard:
What is a Leakdown Test for Yamaha Outboards?
How to Do a Yamaha Outboard Leak Down Test: A Step-by-Step Guide
- Required tools & supplies to perform a Yamaha outboard leak down test
- Performing the leak down test
Frequently Asked Questions about Leak Down Tests
- Can you do a cylinder leak down test on a 2-stroke?
- What is a good leak down test result on an outboard motor?
- What are the most common sources of leaks during the leak down test?
- How long does it take to perform a leak down test?
- What’s the difference between a leak down test and a compression test?

A Yamaha outboard leak down test indicates the condition of each of the engine’s cylinders and the overall condition of the motor. Similar to a compression test, it involves spraying compressed air into each cylinder and using a pressure gauge to measure a percentage of pressure that’s lost after a short period.
Also, part of doing a leakdown test on a motor is to listen for any signs of leakage. By listening closely to each cylinder and the areas around them, you’ll better understand where leaks may be present.
The goal of a pressure test is to confirm whether the motor has any air leaks. The presence or absence of air in engines often leads to leaking of fuel-air mixtures and leakage of fuel during operation.
Additionally, these leaks may become infiltration points for water and moisture from the aquatic environment, resulting in internal corrosion, sub-optimal performance (i.e., at idle, low RPMs, and high RPMs), and other issues.
How to Do a Yamaha Outboard Leak Down Test: A Step-by-Step Guide
Now that you have a basic understanding of what a leak down test involves, it’s time to get started with the leak down test to troubleshoot your Yamaha outboard motor!
Note: The following guide is based on procedures for a Yamaha F225; however, the steps for other Yamaha outboard engine models are very similar. This said, be sure to consult your Yamaha outboard service manual for exact cylinder configurations, required tools for disassembly, and other important information. If you run into problems, immediately consult your local certified Yamaha outboard mechanic.
Required Tools & Supplies to Perform a Yamaha Outboard Leak Down Test
- Ratchet and extensions
- Socket set (including spark plug socket)
- Compression tester / Leak down tester
- Air compressor (1/2 HP model or better)
- Air hoses
Performing the Leak Down Test
Step #1: Begin by carefully removing the top cowling, Then, remove the ignition coil cover at the rear of the motor.
Step #2: Remove the spark plugs. Be sure to lay the spark plugs in numbered order to reinsert or replace them after the test.
Step #3: Remove the flywheel cover from the top of the motor.
Step #4: Mark the flywheel with a marker at 0°, 120°, and 240°. These positions will indicate where you’ll rotate each pair of cylinders to the top dead center positions (see Step #11 and #12 below).
Step #5: Rotate the crankshaft with your ratchet and socket to the top dead center for cylinder #1.
Step #6: Adjust the regulator on the leak down tester to 0% to calibrate it for an accurate reading.
Step #7: Connect the leak down tester by screwing into the spark plug port at cylinder #1. Next, connect the tester to the compressor and take a measurement. Be sure to firmly hold the crankshaft to prevent it from rotating.
Step #8: Rotate the crankshaft 360° (one full rotation) to put cylinder #4 at top dead center.
Step #9: Connect the leak down tester to cylinder #4. Then, take a measurement while holding the crankshaft to prevent it from rotating.
Step #10: Set cylinder #3 to top dead center at the 120° mark. Next, repeat step #7 through Step #10 for cylinders #3 and #6.
Step #11: Set cylinder #2 to top dead center at the 240° mark. Then, repeat step #7 through Step #10 for cylinders #2 and #5.
Step #12: Replacement is the same as disassembly. Be sure to replace spark plugs in numbered order and apply anti-seizing compound on the threads for easy removal/replacement in the future. Also, firmly reattach the ignition wires for a solid connection.

Frequently Asked Questions about Leak Down Tests
Can you do a cylinder leak down test on a 2-stroke?
Yes, performing a leak-down test on a 2-stroke outboard motor is possible. Because 2-stroke outboard motors rely on lubrication from an oil-gas mixture, any leaks may reduce the lubricating quality of the fuel and cause serious engine damage.
Depending on the outboard model, the process may require you to block the intake and exhaust and hold the flywheel at the top dead center to form a complete seal and accurately test the pressure.
What is a good leak down test result on an outboard motor?
Anything below 10% loss of pressure is considered good enough for the normal operation of your Yamaha outboard motor.
This means that if you use 100 psi of compressed air, you shouldn’t see a reading below 90 psi. A 20% loss is generally considered normal for a worn engine (but doesn’t warrant an immediate rebuild). However, a 30% leakage and higher is a significant loss of compression, requiring an engine rebuild or valve job.
What are the most common sources of leaks during the leak down test?
When performing a Yamaha outboard leak down text, there are generally four (4) sources of leaks with most Yamaha outboard motors:
- Head gasket
- Piston ring
- Inlet valve
- Exhaust valve
If a leak is discovered, this may require professional servicing by a certified Yamaha mechanic to stop any further leaks and other developing issues.
How long does it take to perform a leak down test?
Performing a complete leak down test for most amateur boat mechanics usually will take about an hour or two. As we’ve explained, leak down tests require the removal of spark plugs and other components. Therefore, it’s often best to perform the test in conjunction with other regular maintenance tasks, such as testing/replacing spark plugs.
What’s the difference between a leak down test and a compression test?
A leak down test uses a set of gauges to pressurize each cylinder with compressed air. It then measures which percentage of that air is escaping. A leak down test does not require the engine to be turned on, so this test can be performed out of the water or without a source of cooling water.
By contrast, a compression test uses the engine turning to generate the compression in the cylinder for the compression stroke, in which both intake and exhaust valves are closed. Because the engine is operating, it requires a source of cooling water from a hose for safe testing.

